homeABOUTARCHIVES
Showing posts with label DIY. Show all posts

DIY// Cat Pouch


I had been wanting to create this cat pouch for a long time. A friend gave me this glorious cat vest after wearing it as a part of her Halloween costume, and I saw its potential right away. It took me a while to find enough time to make it, but one morning I felt super inspired after a long dry spell of my creativity.  And so, I knew it was time to, at long last, give life to cat pouch. And it was awesome.

I write this post with a twinge sadness in my heart, though. After making cat pouch, I was so excited about it that I brought it over to Jake's house to show him. We, of course, talked about how awesome it was and which cat we thought was the ugliest. And then we went out to the car to go to lunch, I set it on the roof of the car and I drove away. I never set anything on the roof of my car, but for some reason, I set cat pouch up there. It took me a while to realize I didn't have it with me, and even longer to accept what must have happened. I still look for it every time I drive though his neighborhood, but I know in my heart that it is gone for good.

One day, I will find another cat vest and cat pouch II will be born.


I'm probably being way too dramatic about this, but I really liked it. Okay?

Cat Pouch DIY//

Materials Needed:

Thrifted tapestry vest, scissors, zipper, needle and thread, sewing machine. (optional: A book for a size guide)


1// Cut the tapestry fabric away from the lining, and using a large book, cut one piece in your desired size.  2// Pin first piece to the uncut tapestry fabric and cut a second piece in the exact same size.


3// Cut your zipper to slightly longer than your desired length and sew to your two tapestry pieces. 4// Turn inside out and sew the edges for the rest of the pouch.


5// As per the instructions on the zipper packaging, create a new stopper using a needle and thread. 6// Love it, use it, and never let it out of your sight.


Farewell, beloved cat pouch. May we meet agin one day.

xo Allison


Be My Bridesmaid


I'm calling this a DIY, even though there wasn't much DIYing involved, besides the fact that I did it myself. If that makes sense. Either way, I thought I'd share my simple process in making these, "Will you be my bridesmaid" gifts.


I started out with these lovely Ban.do hearts. We all know how much I love ban.do, so I figured I'd share the love with others. I then wrapped them in pretty tissue paper (Thanks Urban Outfitters!) found some cute kraft paper boxes that they fit in perfectly, and tied them up with some gold ribbon! Easy. I designed the card in Photoshop using my Bamboo drawing tablet. Also easy.

This was a fun project to work on and a fun way to ask 3 very important people to do me a very important favor. And they all said yes, by the way :)

xo Allison

Easy-Peasy Glitter Notebook


Hello and happy Wednesday! As promised I have a super fun, glittery DIY for you today. This DIY also goes hand in hand with a exciting announcement:
I'm getting married this summer!
My fiance, Jake, and I were planning on waiting to get married until June 2014, but we changed our minds, decided we were ready now, and jumped on the wedding-planning-train! Yay! So, with all of this planning going on (stressful!) I needed something to jot down important to-dos and random inspiration, so, I created this beauty. This DIY is so simple and can be done in an hour, seriously. Let's get started. 


Supplies Needed: A notebook (mine is a kraft paper Molskine) a pencil, regular school glue (hot glue does NOT work well), paper to put under your work, clear nail polish and glitter, of course! 


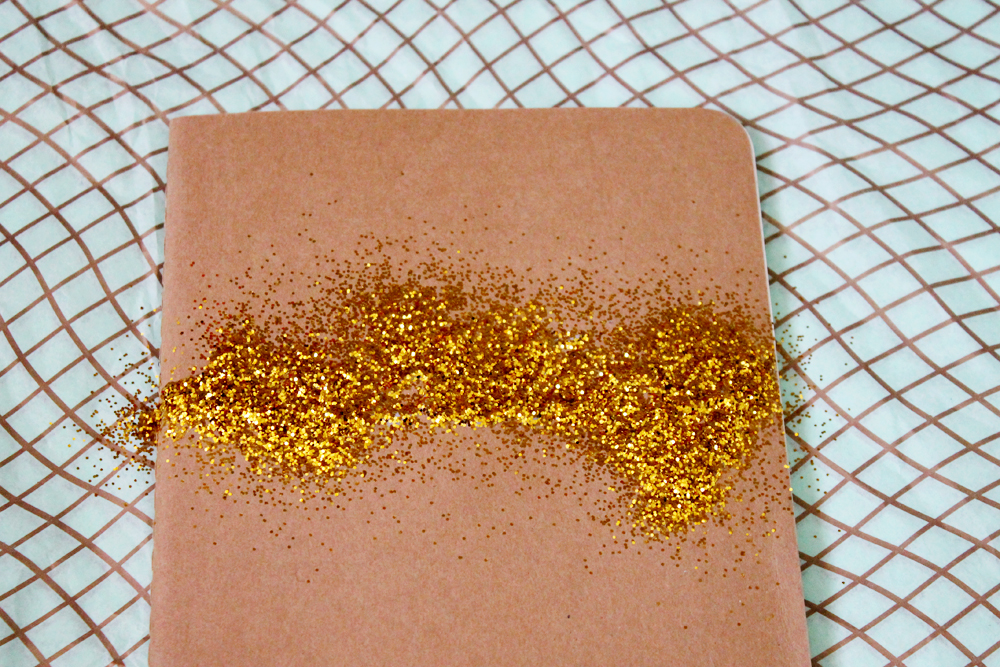
1/ Write your word or phrase in pencil. 2/ Trace over your writing with glue. Steady hand! 3/ Cover that with ALL THE GLITTER! But, seriously, douse the glue in glitter so all of it is covered. 4/ Tap the glitter off and on to a piece of paper. Pour the excess glitter back into its container. 5/ After the glue is dry, paint over the glitter with clear nail polish. This will prevent most of the shedding, there may be some, but not as much as there would be without it, trust me. 6/ Admire it! 


And that's it! Like I said, super simple, but really fun. You can use this method to glitter bomb almost anything, which is always a plus. What will you glitter? I'm thinking greeting cards would be really fun, too. 

xo Allison